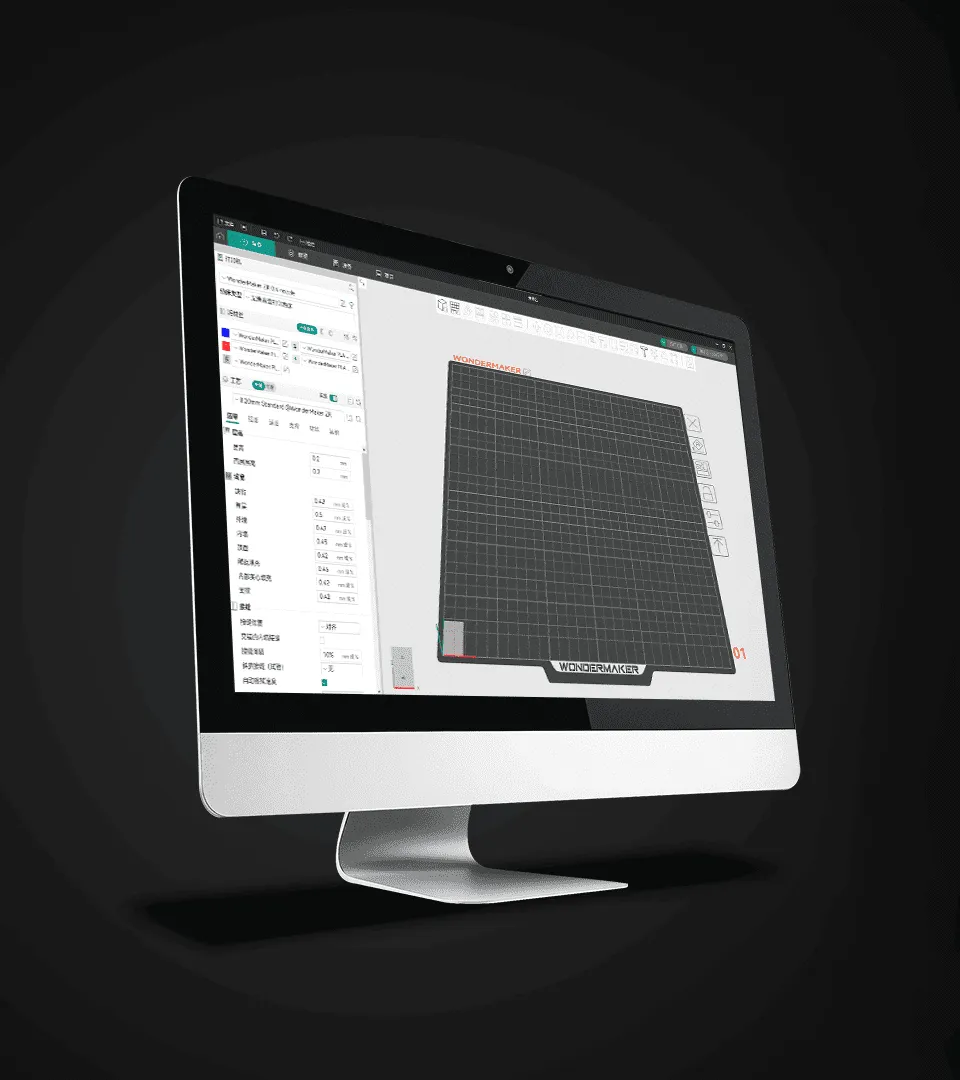
For users who want greater control over print quality, speed, and material use, 3D printing Orca Slicer offers a practical way to fine tune the slicing process. Orca Slicer is an open source slicer for Fused Filament Fabrication (FFF) and Fused Deposition Modeling (FDM) 3D printers, with settings covering printer configuration, materials, quality, strength, speed, supports, and multi-material printing.
However, having access to many settings does not automatically mean better prints. The key is understanding which parameters affect a specific model and making changes based on actual printing results. For WonderMaker 3D users, Wonderprint Orca builds on the Orca Slicer framework while adding optimization for WonderMaker ZR series printers.
Why Orca Slicer Matters in 3D Printing
A slicer converts a 3D model into instructions that a printer can follow. During this process, users can control factors such as layer height, wall thickness, infill, temperature, cooling, print speed, supports, and acceleration.
This makes slicer selection important when print requirements become more demanding. A simple model may work well with standard settings, while detailed parts, functional components, and multi-color models often require more precise adjustments.
Orca Slicer organizes these controls into printer, material, and process settings, making it easier to approach optimization systematically.
Start with the Right Printer and Material Profiles
Before changing advanced parameters, confirm that the printer profile and filament profile match the actual hardware and material. Incorrect basic settings can cause problems that cannot be solved simply by increasing print speed or changing layer height.
Material settings can include print temperature, bed temperature, cooling, flow ratio, pressure advance, and volumetric speed limits.
For WonderMaker 3D users, Wonderprint Orca provides pre tuned material profiles for ZR series printers. The software currently focuses on the ZR Ultra while compatibility for the wider ZR series continues to develop.
Starting from an appropriate profile reduces unnecessary trial and error and gives users a reliable baseline for further adjustments.
Balance Print Quality and Speed
One of the most common questions about 3D printing Orca Slicer is how to achieve faster printing without sacrificing quality. The answer depends on the model, material, and printer capabilities.
Layer height is an important starting point. Smaller layers can improve the appearance of curved and detailed surfaces, while larger layers can reduce printing time for models where surface detail is less important.
Print speed should also be considered together with acceleration. Orca Slicer allows different acceleration settings for areas such as outer walls, inner walls, bridges, infill, and travel movements. Outer wall acceleration is generally set lower when surface quality is a priority.
Instead of increasing every speed value, users can target areas where faster movement has less impact on visible quality. This approach can provide a more practical balance between production time and finished appearance.
Improve Strength Through Walls and Infill
Print strength does not depend on infill percentage alone. Wall count, top and bottom layers, infill pattern, and print orientation all influence how a part performs.
For functional components, increasing wall thickness can sometimes provide a better structural benefit than simply increasing infill. The appropriate choice depends on whether the part needs resistance to bending, impact, compression, or repeated use.
Orca Slicer provides dedicated strength settings for walls, top and bottom shells, and infill patterns, allowing users to adjust these factors according to the purpose of the printed part.
Use Supports and Multi-Material Settings Carefully
Support structures can make complex models printable, but excessive support can increase material consumption and post processing work. Users should consider support placement, support density, and the geometry of overhangs before enabling extensive support structures.
For multi-material printing, additional considerations include material assignment, toolhead changes, prime towers, and ooze prevention. Orca Slicer includes dedicated multi-material settings for these operations.
Wonderprint Orca is designed with WonderMaker’s multi toolhead systems in mind. According to WonderMaker 3D, its software uses path planning to manage cooling and preheating between standby toolheads while supporting precise material assignment.
Calibrate Before Making Major Changes
When a print shows poor dimensional accuracy, inconsistent extrusion, stringing, or surface defects, changing multiple settings at once can make troubleshooting difficult. Calibration provides a more structured approach.
Users can evaluate flow, temperature, pressure advance, retraction, and other parameters individually. Orca Slicer’s calibration resources are designed to help users establish suitable settings based on their specific printer and material combination.
After each adjustment, printing a small test model can help determine whether the change actually improves the result. Keeping successful profiles also makes future projects more consistent.
A Practical Workflow for Better Prints
A reliable 3D printing Orca Slicer workflow should begin with the correct printer and material profiles. Next, choose the desired balance between quality, strength, and speed. Then review supports, cooling, and other model specific settings before slicing.
After the first test print, inspect dimensional accuracy, surface quality, layer consistency, overhangs, and structural performance. Adjust one or two relevant parameters at a time rather than changing the entire profile.
For WonderMaker 3D users, Wonderprint Orca provides a dedicated software environment built around the Orca Slicer framework and WonderMaker hardware. It also includes features focused on multi-color and multi-material production.
Making Slicer Settings Work for Your Printer
Effective slicer optimization is less about finding one perfect configuration and more about creating a repeatable process. Different models and materials can require different settings, even when they are printed on the same machine.
With the right profiles, controlled calibration, and targeted adjustments, Orca Slicer can give users more practical control over print quality, strength, speed, and material consumption. For those using WonderMaker 3D printers, Wonderprint Orca extends this approach with software features developed around the ZR series, making slicer configuration more closely connected to the printer’s capabilities.
By treating slicer settings as part of the complete printing workflow rather than simply a final step before printing, users can achieve more consistent results and make better use of their 3D printing equipment.
